how to prepare a 4x4 vehicle for safe fathers day overlanding trips in 2026
Father's Day weekends are prime overlanding time — warm weather, longer daylight, and a solid reason to get the truck out of the garage. But if you're planning a multi-day trip into unfamiliar terrain with your old man or taking the kids out for their first real backcountry experience, a half-checked vehicle is a liability, not an asset. I've recovered too many rigs on Father's Day weekend because owners skipped the mechanical fundamentals and hoped their gear would compensate. Good gear helps, but a vehicle that's been properly maintained and fitted for real trail conditions is what keeps you safe.
This guide walks you through the critical steps to get your 4x4 trail-ready before that first June trip. We're talking mechanical checks that actually matter, recovery and safety gear that works when you need it, and accessory installations that won't fail at mile 47 of a remote canyon run. Skip the flex — focus on the foundation.
Table of Contents
Mechanical Fundamentals: The Non-Negotiables
Before you buy a single accessory, your engine and drivetrain have to be bulletproof. I don't mean showroom-clean — I mean functionally solid. Start with fluid checks: engine oil, coolant, brake fluid, transmission, transfer case, and differentials. On older rigs especially, differential oil breaks down faster under the heat and stress of off-road driving. If you're planning serious terrain, drain and replace it. Don't shortcut this.
Next, tires. Your tire choice directly impacts whether you can traverse certain terrain safely. Factory tires on most trucks and SUVs are highway-biased and will struggle in mud, sand, or technical rock. For Father's Day trips, aim for an all-terrain or mud-terrain tire rated for your vehicle's load capacity. Check the sidewalls for puncture resistance — you want something with reinforced construction, not a bargain-bin option that'll shred on sharp rocks. I've seen so many trips derailed by a tire failure that a $200 difference in rubber would've prevented. Proper inflation matters too: running slightly lower pressure (2–4 psi below recommendation) improves traction and ride quality off-road, but monitor your pressures obsessively if you're going this route. Bring a quality air compressor and check gauges, not the stem gauges that ship with cheap pumps.
Brake inspection is critical. Off-road driving means longer, harder braking — especially on descents. Have your pads checked, and if they're below 50% thickness, replace them. Brake fluid should be flushed every two years minimum; old fluid absorbs moisture and can fail in high-heat situations like sustained downhill braking. Also inspect your brake hoses for cracks or deterioration. Finally, check suspension components: ball joints, tie-rods, and steering stabilizers. Any play or clicking in the front end is a red flag. Suspension failure in the backcountry can turn a fun trip into a dangerous situation fast.
Undercarriage Protection and Skid Plates
Skid plates aren't cosmetic — they're the difference between limping out of a canyon with a dented pan and limping out with a catastrophic oil leak. Aluminum skid plates protect your engine oil pan, transmission, transfer case, and fuel tank from rocks, stumps, and rough terrain. Steel skid plates are heavier but more durable for technical crawling; aluminum saves weight and still provides solid protection for moderate terrain. Choose based on where you're actually going. If Father's Day plans include mellow forest tracks and sandy washes, aluminum is fine. If you're planning canyon crawls or boulder-studded single-track, steel is worth the weight penalty.
Installation difficulty varies by vehicle and kit. Modern bolt-on skid plate kits typically take 1–2 hours with basic hand tools. Older vehicles may require welding or custom fabrication. If you're not comfortable underneath your vehicle with a wrench, hire a shop — a skid plate installed poorly is worse than no skid plate. Ensure mounting points are solid and fasteners are torqued to spec. Also check for rubbing: a skid plate that contacts your suspension while turning or articulating will catch and hang up. Take the vehicle for a test drive on pavement with full lock turns before heading into terrain.
Don't neglect rock sliders if your rig has vulnerable rocker panels. Rock sliders bolt to the frame and run along the lower sides of the vehicle, protecting your rocker panels from side impacts when you're navigating tight canyon sections or sliding off-camber trails. Combined with skid plates, they form a protective envelope that keeps expensive damage at bay.
Recovery Gear Setup and Winch Prep
If you're heading into remote terrain — especially with family along — recovery gear is mandatory, not optional. At minimum, carry a high-lift jack, quality shovel, recovery boards (not sand ladders — boards grip multiple surfaces), and heavy-duty shackles rated for your vehicle's curb weight. A winch is the next tier, and it's genuinely worth the $800–$2,000 investment if you plan multiple backcountry trips per year. Electric winches are reliable and user-friendly; hydraulic winches are more durable in extreme climates but require careful maintenance.
If you're installing a winch, mount it on a proper bumper rated for the winch capacity. A winch bolted to a cosmetic bumper is a disaster waiting to happen — the bumper will tear away, and you'll have a loose winch in your lap. Fairlead (the pulley at the front) should be rated for your winch's pulling power. Steel fairleads are tougher; nylon fairleads are cheaper but can degrade in UV exposure. Cable or synthetic rope? Synthetic is lighter, easier to handle, and safer (steel cable under tension can snap and whip with deadly force). Synthetic doesn't last quite as long as steel in abrasive conditions, but for most overlanding, it's the smarter choice.
Before your trip, test your winch. Pull a heavy log or rock and confirm the motor engages smoothly, the cable feeds evenly, and the remote functions properly. Check the battery connections — loose or corroded connections cause winch failures. Pack a winch snatch block (doubles your pulling power by changing the mechanical advantage) and extra shackles. Also bring tree-saver straps to protect trees when winching. If you're extracting another vehicle, you'll need proper anchor points and knowledge of rigging — I've seen bad rigging practices hurt people. If you're not trained in recovery rigging, take a class or get experienced help before you need it in the field.
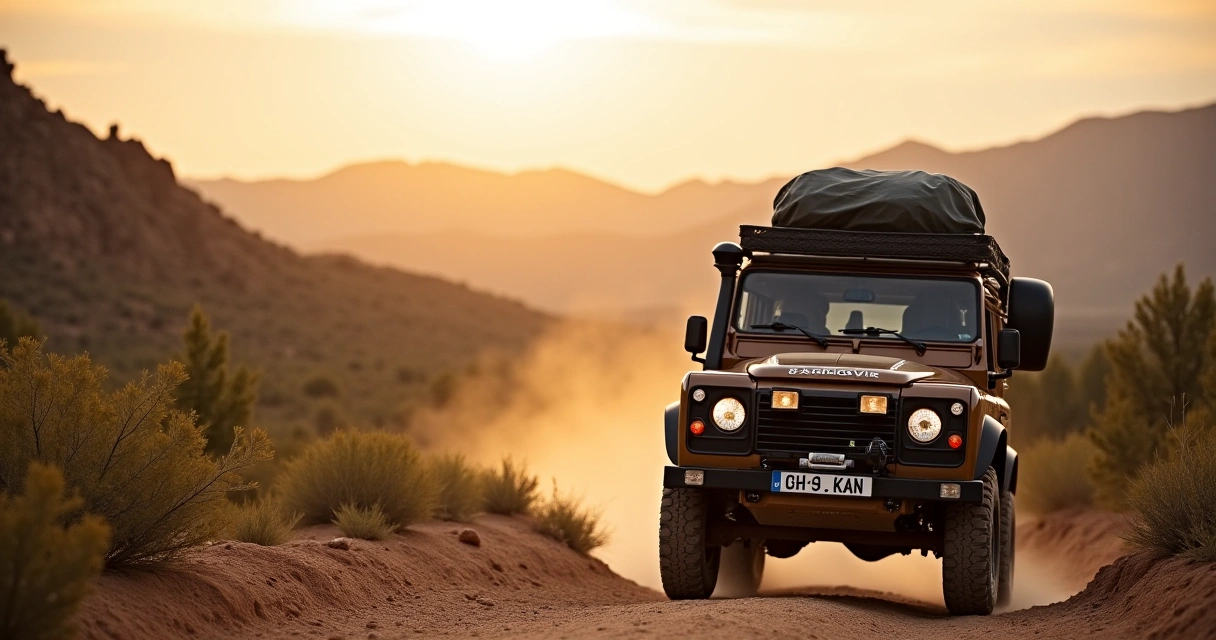
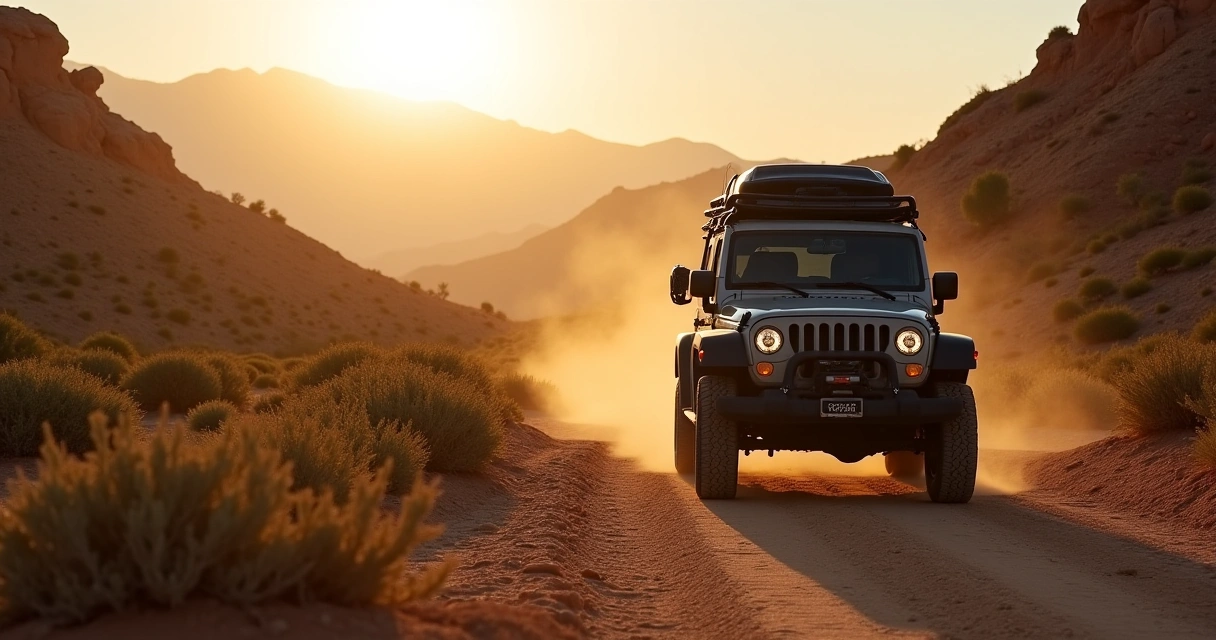
Roof Racks, Storage, and Load Planning
A roof rack is essential for overlanding — it expands your cargo capacity without eating ground clearance. But a poorly installed rack will reduce fuel economy, hurt handling, and in extreme cases, tear away from the vehicle. Choose a rack rated for your vehicle and designed for your roof type (factory rails, naked roof, or gutter-mount). Aluminum racks are lighter; steel racks are more robust. Installation should be rock-solid — there's no compromise here. If mounting bolts aren't torqued to spec and re-checked after your first rough section of trail, that rack will shift, and a shifting rack can make your vehicle unstable, especially in strong crosswinds or during high-speed descents.
What you load on that rack matters enormously. Heavy gear (fuel cans, water containers, recovery boards) should be mounted as low and centered as possible to minimize top-heavy dynamics. Lighter items can go higher. Keep your total roof load under 150 pounds if possible — higher than that, and you're fighting physics. Center of gravity shifts with every item you add. On a rocky trail, a top-heavy vehicle is unpredictable and prone to rollovers. Weight distribution also affects your suspension: a heavily loaded roof will compress springs and change ride height, affecting clearance and angles on obstacles.
Secondary storage solutions include undercarriage slide-out drawers, mid-gate storage (on trucks), and side cargo boxes. These are far better for weight distribution than roof-mounted gear, though they reduce flexibility. Plan your layout before you leave: know where every piece of gear lives and how to access it without unpacking everything. Label your storage compartments. I've spent far too much time digging through a jumbled roof rack at dusk trying to find a specific camera or tool.
Off-Road Lighting and Navigation Systems
Factory headlights are highway lights — adequate for paved roads but weak for backcountry navigation, especially on technical sections. LED light bars mounted on a roof rack or front bumper transform your night visibility. A quality 50–100-watt LED bar ($300–$600) provides beam patterns that reach 200+ feet and illuminate the trail width, not just the center. If you're planning any evening drives or camp-to-camp navigation in low light, this is not optional. I've seen vehicles get stuck or damaged because the driver couldn't see terrain ahead. LED bars also consume less power than old HID setups, which matters if you're running auxiliary lights for extended periods.
Mounting matters: a light bar should be aimed to illuminate the ground 100–150 feet ahead without blinding oncoming traffic (though you likely won't encounter any on backcountry trails). Combination light bars with flood and spot patterns are more versatile than single-pattern setups. Also add backup lighting if you're planning to navigate in darkness — a small LED light mounted on your truck bed or rear bumper helps with backing up in tight situations and provides safety visibility when parked on the trail.
Navigation: carry physical maps and a GPS. Your phone's battery will fail, cellular coverage doesn't exist in remote areas, and electronic devices can malfunction. A quality handheld GPS unit (Garmin eTrex or similar) and topographic maps of your planned route are backcountry essentials. Pre-load waypoints and routes into your GPS at home. Even better, share your planned route with someone not on the trip — if you break down or get stuck, rescuers need to know where to look. Modern overlanders also use apps like AllTrails or Gaia GPS, but again, download maps offline and don't rely solely on cellular data.
Frequently Asked Questions
What is the best way to prepare a 4x4 vehicle for overlanding trips?
Start with mechanical fundamentals like checking the engine, transmission, and brakes. Install undercarriage protection with skid plates and ensure your recovery gear, including a winch, is in working order.
How do I choose the right roof rack for overlanding?
Select a roof rack that is compatible with your vehicle and can securely hold your gear. Look for options with crossbars and mounts for tents, solar panels, and other essentials.
Is it worth investing in a recovery board for overlanding?
Yes, a recovery board is worth it for safe vehicle recovery. It provides a stable surface for winching and protects your undercarriage from damage during extraction.
How do I set up off-road lighting for my 4x4?
Install LED light bars on the front and rear of your vehicle for better visibility. Use auxiliary lights on the sides and under the vehicle for enhanced night driving and safety.
What are the essentials for overland camping?
Essentials include a durable overlanding tent, a portable stove or camping cooker, a water filtration system, and a first aid kit. Don't forget to pack enough food and fuel for your trip.
How can I protect my 4x4's undercarriage during off-road trips?
Install skid plates to protect your undercarriage from rocks and debris. Regularly inspect and maintain these plates to ensure they are in good condition for rough terrain.
What should I consider when planning a multi-day overlanding trip?
Plan your route in advance, check weather conditions, and pack essential supplies like food, water, and a recovery kit. Make sure your vehicle is fully prepared with the right gear and accessories.