How to Choose the Right Off-Road Lighting for Spring Overlanding Adventures in 4x4 Vehicles
Spring overlanding kicks into gear when daylight hours stretch longer, but that doesn’t mean you can ditch your lighting. The right lights cut through mud, fog, and even the pitch-black forests, giving you confidence on every trail. But with so many options—LED bars, floodlights, spotlights—it’s tough to know what actually works in real-world conditions, not just in photos. From muddy river crossings to rocky climbs, your lighting needs to be tough, reliable, and suited to your style of adventure.
If you’re heading into the backcountry this spring, selecting the right off-road lighting will keep you safer, help you spot obstacles early, and make nighttime setups way easier. Don't get caught out with gear that looks good but fails under real-world conditions. Keep reading, and I’ll guide you through choosing lights that’ll actually perform when the trail gets rough.
Table of Contents
Types of Off-Road Lighting
First off, understanding the types of lights available helps you pick what fits your rig and style. The main categories are LED light bars, floodlights, and spotlights. Each has practical strengths and weaknesses on muddy trails or rocky roads.
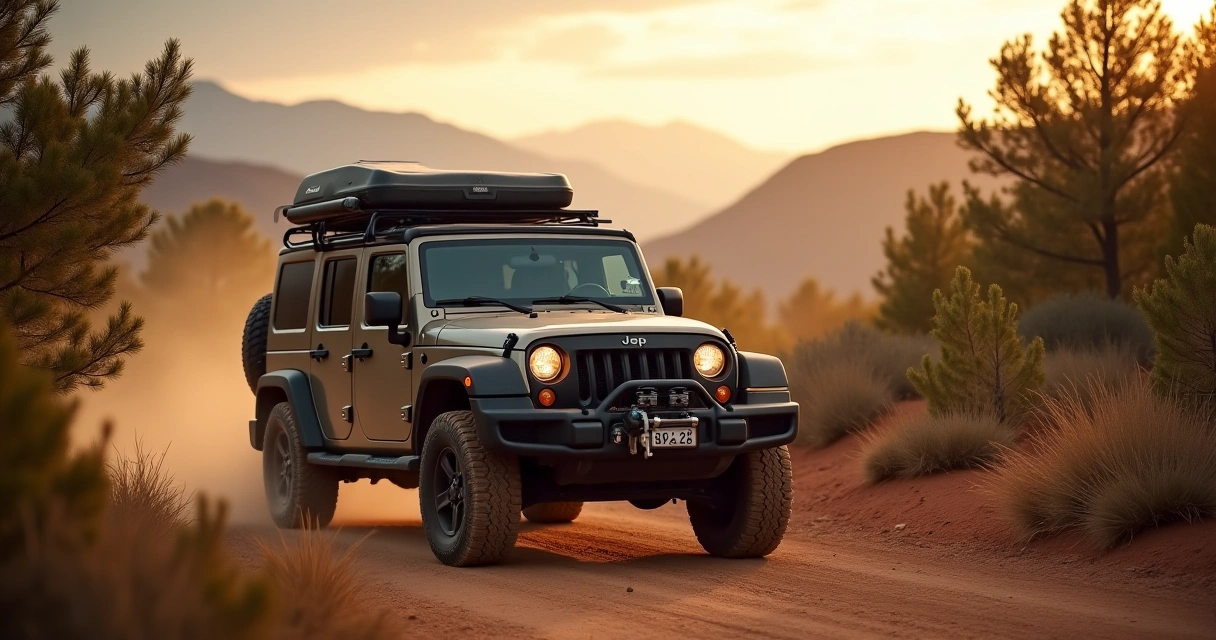
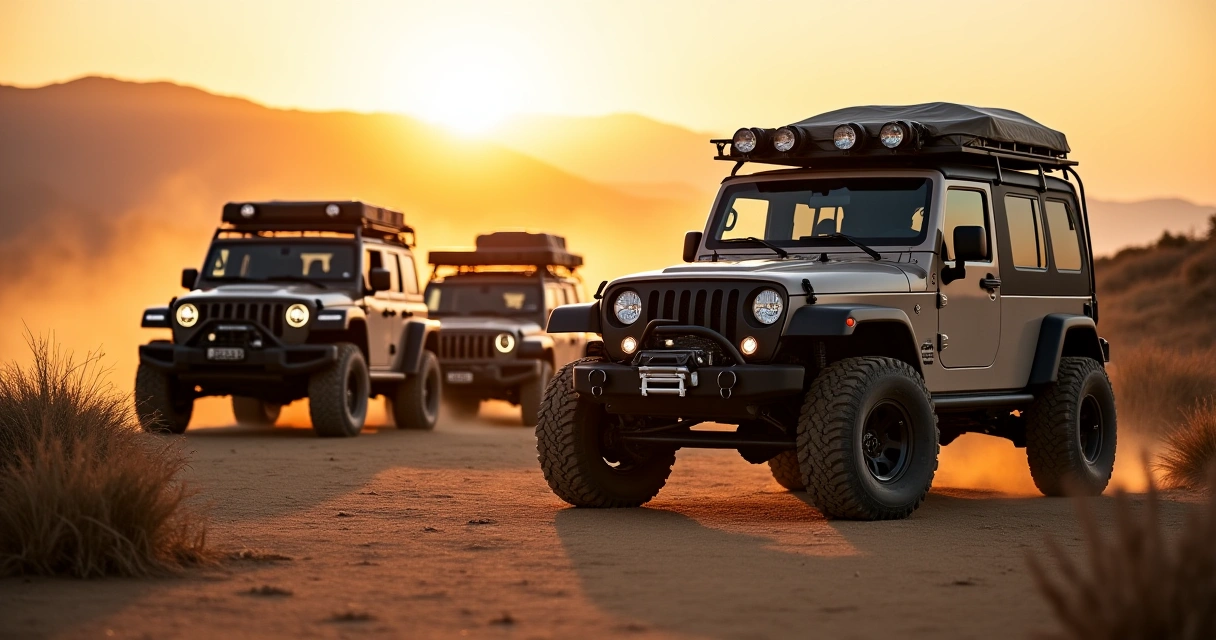
LED Light Bars flex around your front bumper or roof rack. They’re versatile because of their width—good for illuminating large areas ahead or side to side during low-visibility conditions. A 20"-30" bar mounted on the roof or bumper can flood the trail in LED brilliance, but they need to be properly aimed to avoid blinding oncoming traffic or creating glare in mud spray.
Floodlights are like a wide beam of light, useful when you're crawling in tight spots or navigating river crossings at low speeds. They don't punch as far as spotlights but brighten everything around your tires, helping spot ditches or trail debris.
Spotlights throw a narrow, intense beam far down the trail. They’re perfect for spotting animals or obstacles at distance on a straight stretch. But be cautious—aim them high to avoid blinding oncoming traffic and to prevent light scatter in fog or snow.
Considerations for Spring Overlanding
Spring often brings unpredictable weather—mud, rains, and variable daylight. Lights should be resilient enough to handle wet, salty environments, especially if you’re crossing rivers or driving on muddy, snowmelt-soaked trails.
Look for lights with waterproof ratings at least IP67. Anything less can mean fogging or failure when splashed or submerged. Also, lighter models help keep your vehicle's weight distribution stable, especially if you rely on roof-mounted rigs. Heavy fixtures can sway in crosswinds or cause fatigue on long drives.
Another point: if your overlanding involves frequent river crossings, high-mounted, waterproof lights help you see obstacles beneath the water surface or hidden after a splash. Keep in mind that spring trails can be overgrown, so bright, wide-coverage lighting can prevent you from smashing into unseen branches or rocks.
Mounting and Placement Tips
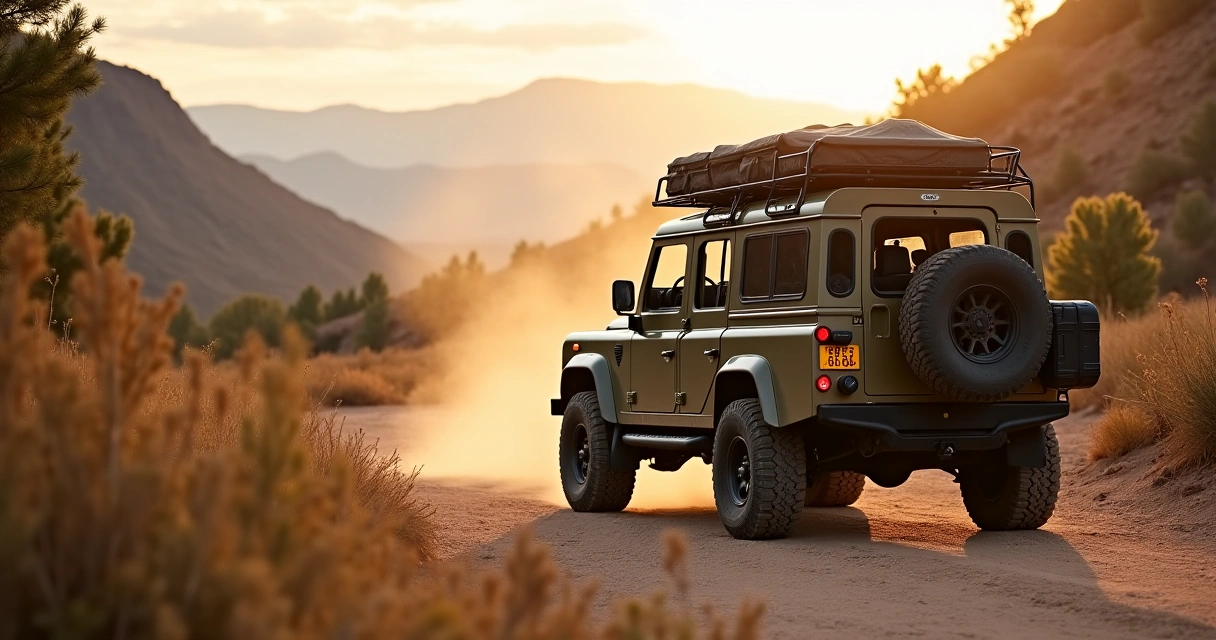
Where you mount your lights makes a huge difference. Roof racks are popular for their height advantage, providing longer-reaching beams, but they can also be vulnerable to tree branches and trail debris. Bumper-mounted lights are easier to service but tend to get caked with mud and snow—every bit of trail spray in spring gets messy fast.
Use adjustable mounts so you can tweak aiming as needed. For muddy conditions, avoid mounting lower or in places where mud and water kick up easily, leading to frequent cleaning or electrical issues. Consider protective covers or guards for your lights—snow, mud, and brush are harsh on fragile lenses.
Power, Compatibility, and Wiring
Spring adventures often mean connecting with variable power sources—your vehicle’s main battery, auxiliary batteries, or portable power packs. Good wiring isn’t sexy, but it’s critical. Overloading circuits or using cheap wiring leads to failures just when you're counting on those beams. Use relays and proper gauges—#14 or #12 AWG wiring usually does it.
LED lights are very efficient—many draw less than 20W per unit—but ensure your vehicle’s electrical system can handle multiple lights. Fuse protection is essential; it prevents damage when a wire gets smashed or water gets in. If you’re running lights on the roof, consider a dedicated switch or control module inside the cab for quick turn-on and adjustments.
Real-World Performance & Recommendations
After years of trail-testing, I can cut through the hype: cheap, overly-bright LED bars might look good in photos but often lack durability. I’ve seen lightweight bars fail after a river crossing or get washed out in the mud. Always prioritize waterproofing and build quality.
For serious spring overlanding—multi-day trips, river crossings, and muddy tracks—I recommend a combination: a solid waterproof 20" LED bar on the roof, complemented by a pair of 7" floodlights mounted lower, and a set of adjustable spotlights for long-range vision. This combo ensures broad coverage, obstacle detection, and long-range spotting, even in stormy weather.
Remember, aiming is everything. Properly adjusted lights prevent blinding oncoming traffic and ensure your trail is lit exactly where you need it most. Test them in conditions resembling your trip, then fine-tune. For weekend warriors doing shorter trips in dry or tame conditions, simpler setups or even decent OEM fog lights supplemented with a small LED bar will do.
Frequently Asked Questions
Can I mount off-road lights on my roof rack?
Yes, but choose mounts that are sturdy and waterproof. Be aware of how mud, snow, and branches will affect the wiring and aim you’ve set up. Regular cleaning and checking alignment before each trip help keep performance optimal.
What’s better for river crossings—spotlights or floodlights?
Floodlights are more helpful for seeing obstacles and clearings beneath or near the water. Spotlights are great for long-distance spotting before the crossing. Use both if you can, and aim them carefully.
How do I prevent my lights from fogging or water damage?
Choose IP67 or higher rated waterproof lights, sealed from behind, with quality wiring and connectors. Regularly inspect for cracks or damage, especially after mud or water crossings.
Will brighter lights drain my battery?
Efficient LED lights draw minimal power, but multiple big units can tax your electrical system, especially with auxiliary lighting running long hours. Use diffusers and switches to manage power consumption during long nights.
Are there any legal considerations for off-road lighting?
Yes. Many areas restrict high beams and auxiliary lights on public roads. Use covers or switches to turn off lights when on pavement, and aim beams downward to avoid blinding traffic.
Choosing the right off-road lighting isn’t just about brightness; it’s about durability, placement, and how well the gear matches your trail style. Spring adventures demand versatile, waterproof, and reliable options to keep you safe and confident on muddy, rocky, and low-visibility trails. Take the time to match your setup to your vehicle and adventures—and you’ll see the difference in the dark.
Next step? Assess your current gear, plan how your lights will integrate into your overland build, and test out different setups before hitting the trail. Good lighting is the difference between a stumble and a smooth ride through the night.